I love raspberries. Who doesn’t? But fake raspberry flavor is not so good. When I came across this yummy-looking recipe for Gourmet Blueberry Almond Fondant I decided to make my own version. Why not just make the one I’d found? I’m weird — I really, really don’t like regular fondant. Marshmallow all the way for me!
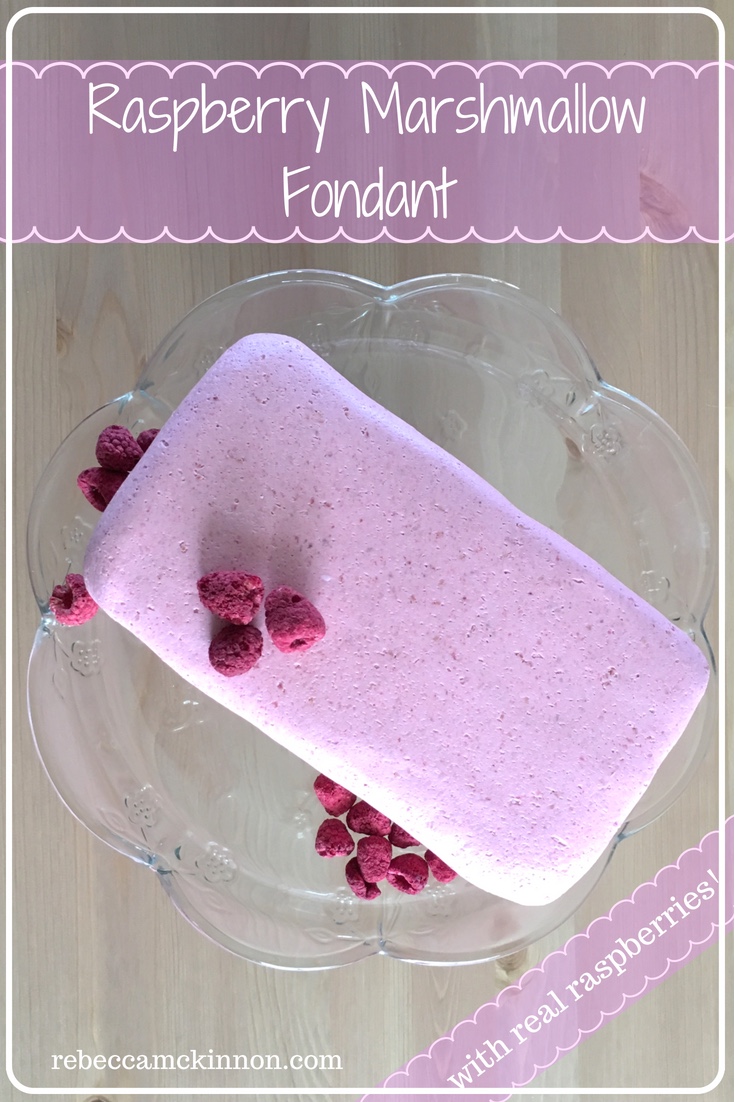
Real Raspberry Marshmallow Fondant
1 oz. freeze dried raspberries
4 c. mini marshmallows
2 T. water
1 t. vanilla
1T. glycerin
1 lb. powdered sugar (divided)
vegetable shortening
Start by putting your raspberries in a small food processor or blender and process until they become a fine powder. Put the raspberry powder, along with 1 c. of the powdered sugar, through a fine sieve. This keeps the raspberry powder from clumping — and separates out any raspberry seeds, which you don’t want in your fondant.
Put the mini marshmallows into a microwave-safe bowl, add the water, and stir. Microwave in 30 second increments, stirring between each, until the marshmallows are completely smooth. This should take around 1 1/2 minutes. Stir in the vanilla and glycerin. Now you’ll want to move quickly, before the marshmallows have a chance to begin to set.
There are several ways of mixing fondant — this is my favorite, but if you have a way you prefer, use it.
To the marshmallow mixture, add the 1 c. of powdered sugar you mixed with the raspberry powder, stirring until it’s completely mixed in.
Dump the remainder of your powdered sugar in a pile on your work surface, making a well in the center. (Be sure your well does touch bottom, or your fondant will stick.) Pour the marshmallow mixture into the well.
Push the edges of the well over the top of the marshmallow. Slide your fingers into the powdered sugar and begin folding the marshmallow over on itself. Yes, this is messy. Enjoy it! Do this a few times, then start to gently knead the fondant. As the fondant gets thicker, you’ll be able to really knead it. Continue kneading in more of the powdered sugar until the fondant reaches the consistency you want. This depends on what you’re using it for (I’ve found that modeling works best with thicker fondant, while I don’t like it too thick for covering cakes). The weather also plays a big part. If it’s a humid day, you’re going to need more sugar than you do on an arid day — obviously, where you live plays a part with this. The general consistency test is to pull part of the fondant off the mass. If it stretches a couple of inches before breaking, that’s a good place to be. If it just keeps stretching like taffy, you need more sugar. If it breaks off right away, you’ll want to knead in a little extra water.
Grease up a clean section of your work surface with vegetable shortening, and knead your fondant for a few minutes more. Rub your finished ball of fondant with a thin coat of shortening and wrap in a double layer of plastic wrap. It’s best to let the fondant sit overnight to allow the flavors to develop.
When you go to roll out the fondant, start by kneading the fondant on a greased surface for a good 5 minutes to make sure it’s nice and pliable. Now you have a choice: you can either choose to roll out your fondant on a greased surface, or dust the surface with powdered sugar. I personally like to do the powdered sugar. After every few rolls, give the fondant a quarter turn to be sure it isn’t sticking.
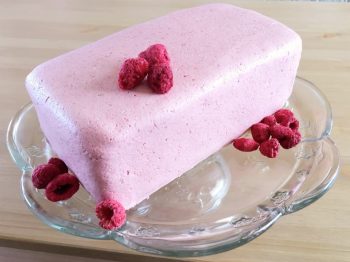
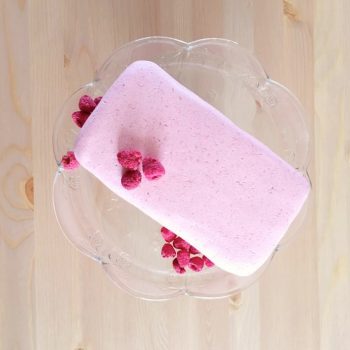
For the cake in the picture, I used a white cake mix, following the mixing directions but adding 1/8 t. lemon extract. Then I divided the mix between two loaf pans — after greasing and flouring them. Yes, you do need to do that if you want them to come out nicely. They baked at 350°F for 25-30 min. After completely cooked, I cut off the peaky bits (and snacked on them, of course), added a layer of frosting between the two and coated the entire thing in a thin layer of frosting. Because the fondant needs something to stick to. The finished cake is so good I can’t keep my kids away from it!